

handler() in a V8 sandbox to fetch data from external APIs, then returns structured JSON. This guide walks through building one.
Prerequisites
- A project with
type: "mcp". See Project setup. - An external API to wrap (REST or GraphQL).
- Familiarity with Tools and Types.
1. Author a data component
A data component declares its input schema, output schema, and an asynchandler that runs in a sandbox:
defineDataSource()instead ofdefineComponent().handlerisasyncand performs I/O.- An
outputschema is required — the data tool’s response is validated against it before returning to the AI. - The handler receives
(props, env)instead of justprops. Useenv.secrets,env.organizationId,env.projectId,env.apiBaseURL, andenv.localerather than module-level constants. - The return value is a plain JavaScript object — no BindJS components.
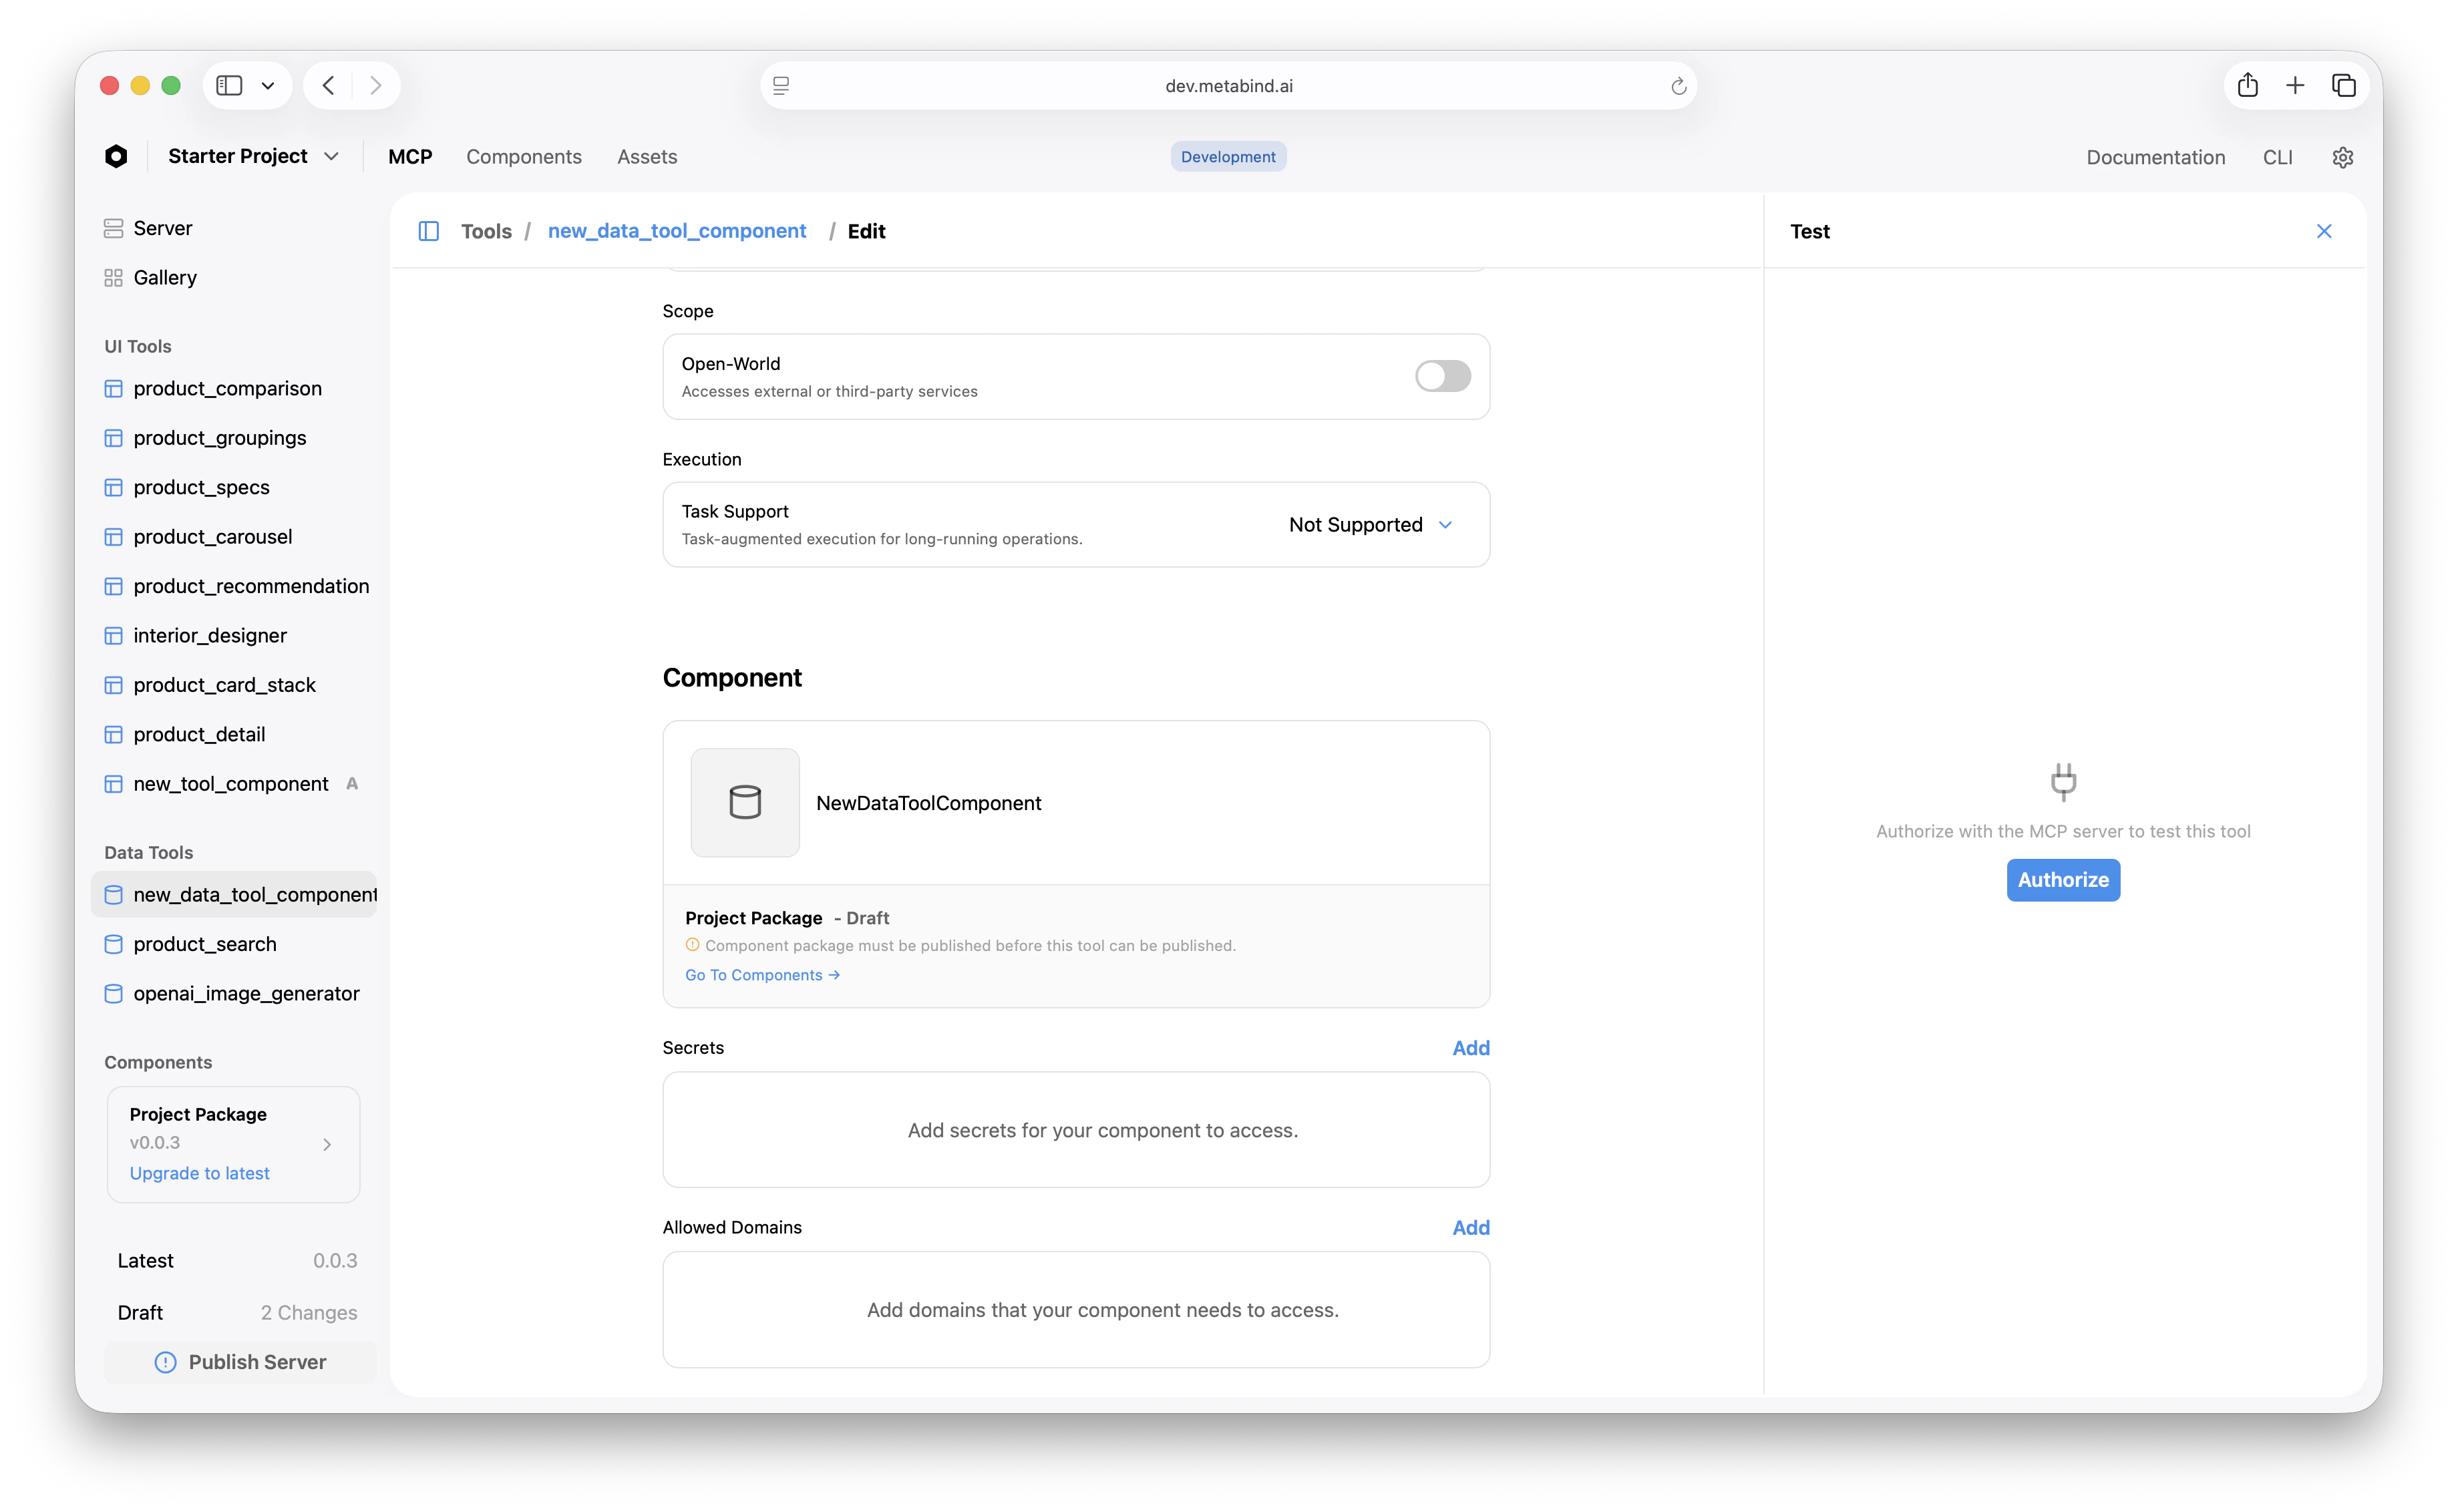
2. Configure secrets
Secrets are injected at runtime viaenv.secrets, never embedded in the component code or visible in the package bundle.
In MCP App Studio:
- Open the Data Tool’s edit page.
- Scroll to the Secrets section.
- Add a secret with the name your handler expects (e.g.,
API_KEY) and the value.
3. Configure allowed domains
Outbound HTTP from the sandbox is restricted to allowed domains. The handler cannot reach an arbitrary URL — it has to be on the list. In MCP App Studio:- Open the Data Tool’s edit page.
- Scroll to Allowed Domains.
- Add the host (
api.example.com) and any related hosts you’ll fetch from.
4. Create a Type that points at the data component
In MCP App Studio:- Open Data Tools in the project sidebar and click +.
- Select the data component you authored.
- Set the tool’s name and description (the LLM reads this to decide when to call it).
- Optionally configure annotations:
readOnlyHint: true— the tool doesn’t modify state.openWorldHint: false— the tool doesn’t access third-party services. (Settruefor tools that hit external APIs.)taskSupport—forbidden,optional, orrequiredfor long-running task patterns.
properties. The output schema is auto-generated from the data component’s output.
5. Test the data tool inline
Click the Data Tool. The right pane is the test panel.- Fill the test inputs.
- Click Run.
- The platform validates input, fetches secrets, executes the handler in the sandbox, and returns the structured output.
Sandbox limits
Data Tool handlers run in V8 sandboxes with hard limits:| Limit | Default |
|---|---|
| Execution time | 60 seconds |
| Memory | 128 MB |
| Outbound HTTP | Restricted to allowed domains |
| Filesystem access | None |
| Environment variables | None — use env.secrets |
| Cross-tenant data | Isolated per project |
Chaining with Interactive Tools
Data Tools and Interactive Tools chain naturally. The AI calls a Data Tool to fetch data, then calls an Interactive Tool to render it:Publish
Once the tool works on the draft endpoint, publish the server to promote it.Related
Sandboxed execution
V8 sandbox, secrets, allowed domains, limits.
Build an Interactive Tool
Pair a Data Tool with rendered UI.
Authoring BindJS components
The BindJS authoring loop.
Tools and Types
Conceptual: how Data Tools fit alongside Interactive Tools.